Phrase content
The phrase content consists of text and bitmaps that can be inserted into any target application.
You can type in text or drag & drop bitmaps into the phrase contents input box or have artificial intelligence generate text for you.
Phrases can have text formatting (italic, bold, etc.). To remove text formatting, right-click into the phrase content box and select "".
Each phrase can have contents in multiple, different languages.
| Formatting | Description |
|---|---|
|
We recommend preferring plain text for maximum flexibility and compatibility. |
|
Use only, if text formatting, tables or bitmaps are required. |
|
No support of PhraseExpress macro functions or functions that alter the phrase contents (e.g. duplicate search, search & replace, bulk editing features). Requires locally installed Microsoft Word. We recommend avoiding this formatting option unless the specific Microsoft Word formatting is essential. |


Press CTRL+ENTER for a page break or SHIFT+ENTER for a line-break. To enter a non-breaking space, press CTRL+SPACE
A few characters cannot be used in the phrase content directly. For example, the character sequence {# must be entered with three leading backslahses \\\{#. Those three backslashes will not be output but just used internally by PhraseExpress. Following characters must be "escaped" with leading backslashes:
| Desired character | Required escape sequence |
|---|---|
| {# | \\\{# |
| } | \\\ |
| {{ | \{{ |
| }} | \}} |
(* | \(* |
*) | \*) |
Phrase preview
The phrase contents is optionally shown in a preview windows in the phrase menu:
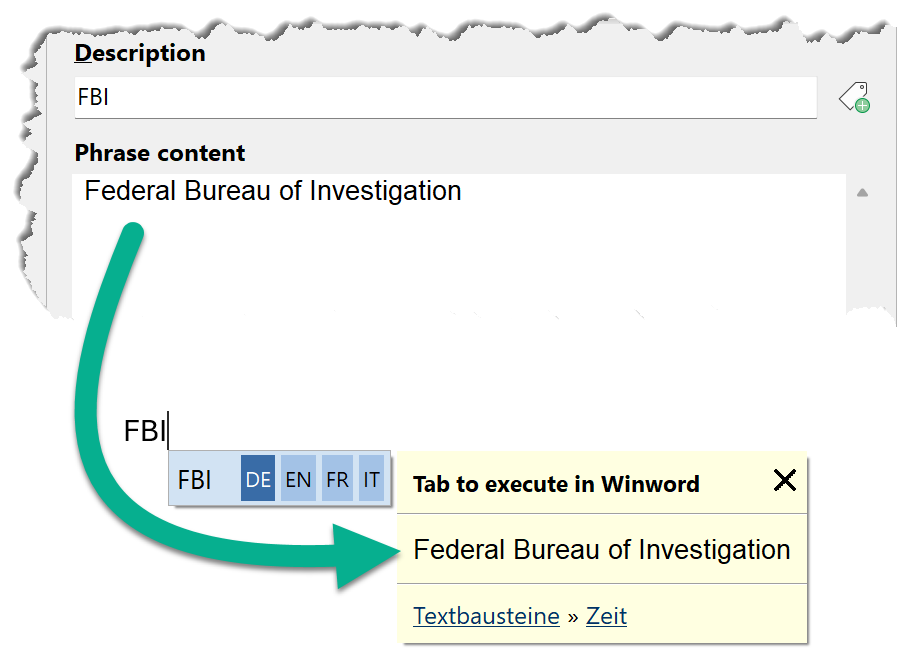
If your phrase library contains multiple languages, the preview shows you the expected output in the preselected language.
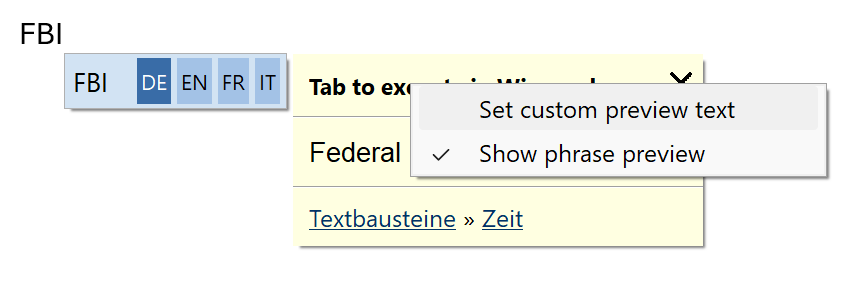
The preview contains the phrase content by default. However, you can define your own preview text by right-clicking into the yellow preview window and selecting "":
You can identify and edit the custom text any time later by clicking on the edit pencil in the preview window:
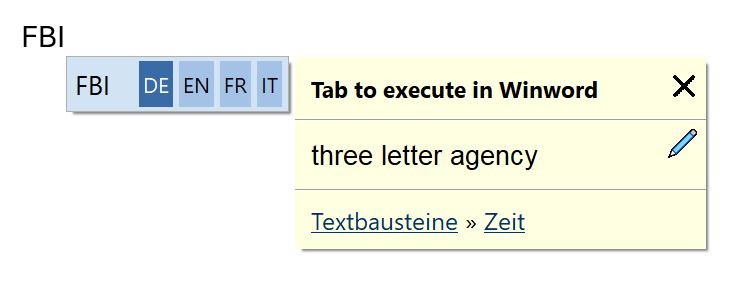
To delete a custom preview text, edit it and delete any customer preview text.