Adding a macro
To add a macro function to a phrase:
- Open the PhraseExpress program window.
- Click in the phrase content box, where you wish to add a macro.
- Select the desired macro function from the macro menu:

- Configure the parameters in the macro configuration dialog.
To edit an existing macro function, double-click the macro placeholder token.
Macro configuration dialog
A macro configuration dialog typically consists of:
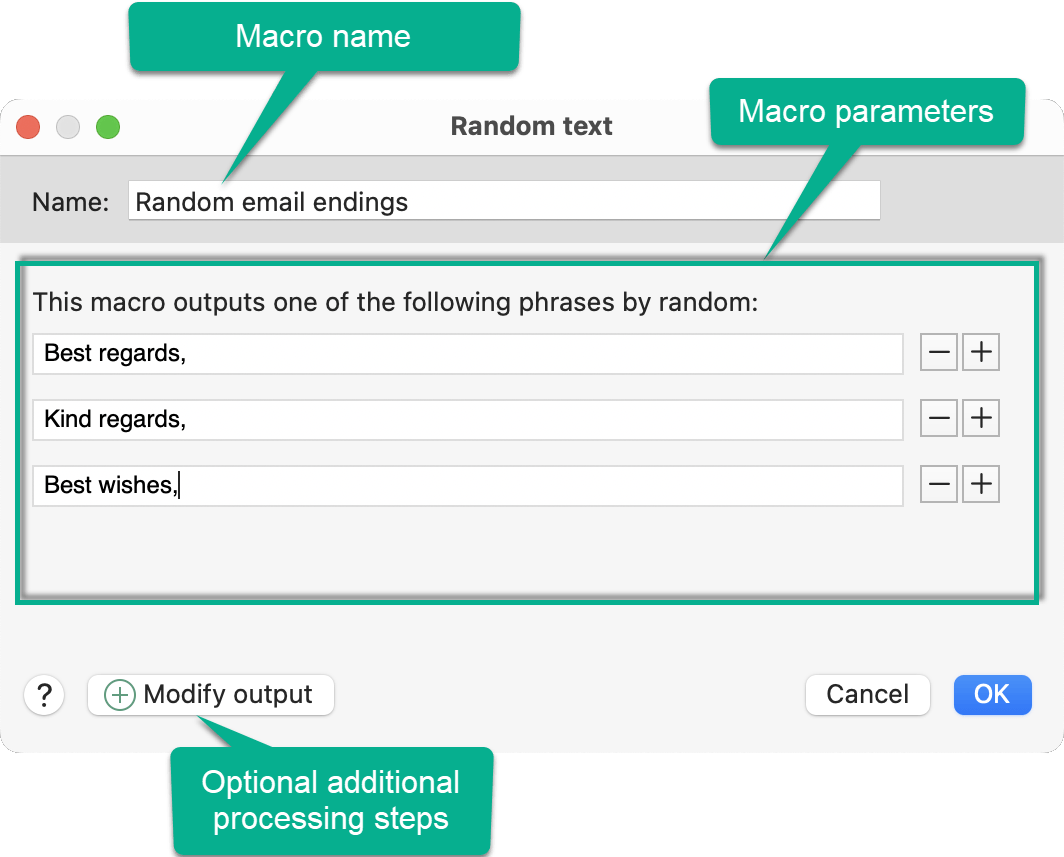
- The macro name input field in the top bar to enter the macro function name
- Several macro parameters which are explained in this manual.
- Optional additional processing steps.
Macro name
The macro name is the text label of the macro token/placeholder:
Choose a short and descriptive name.
Example: For a macro, that outputs a the current date plus 14 days for a payment reminder phrase, you may want to name it "Date+14d" or "PaymentReminderDate".
Without defining a name, the underlying macro code is shown in the phrase instead of the beautiful macro token:
The code view is interesting for expert users only, who like taking a peek under the hood.
You can toggle between code vs token view at any time by defining a macro name or removing it.
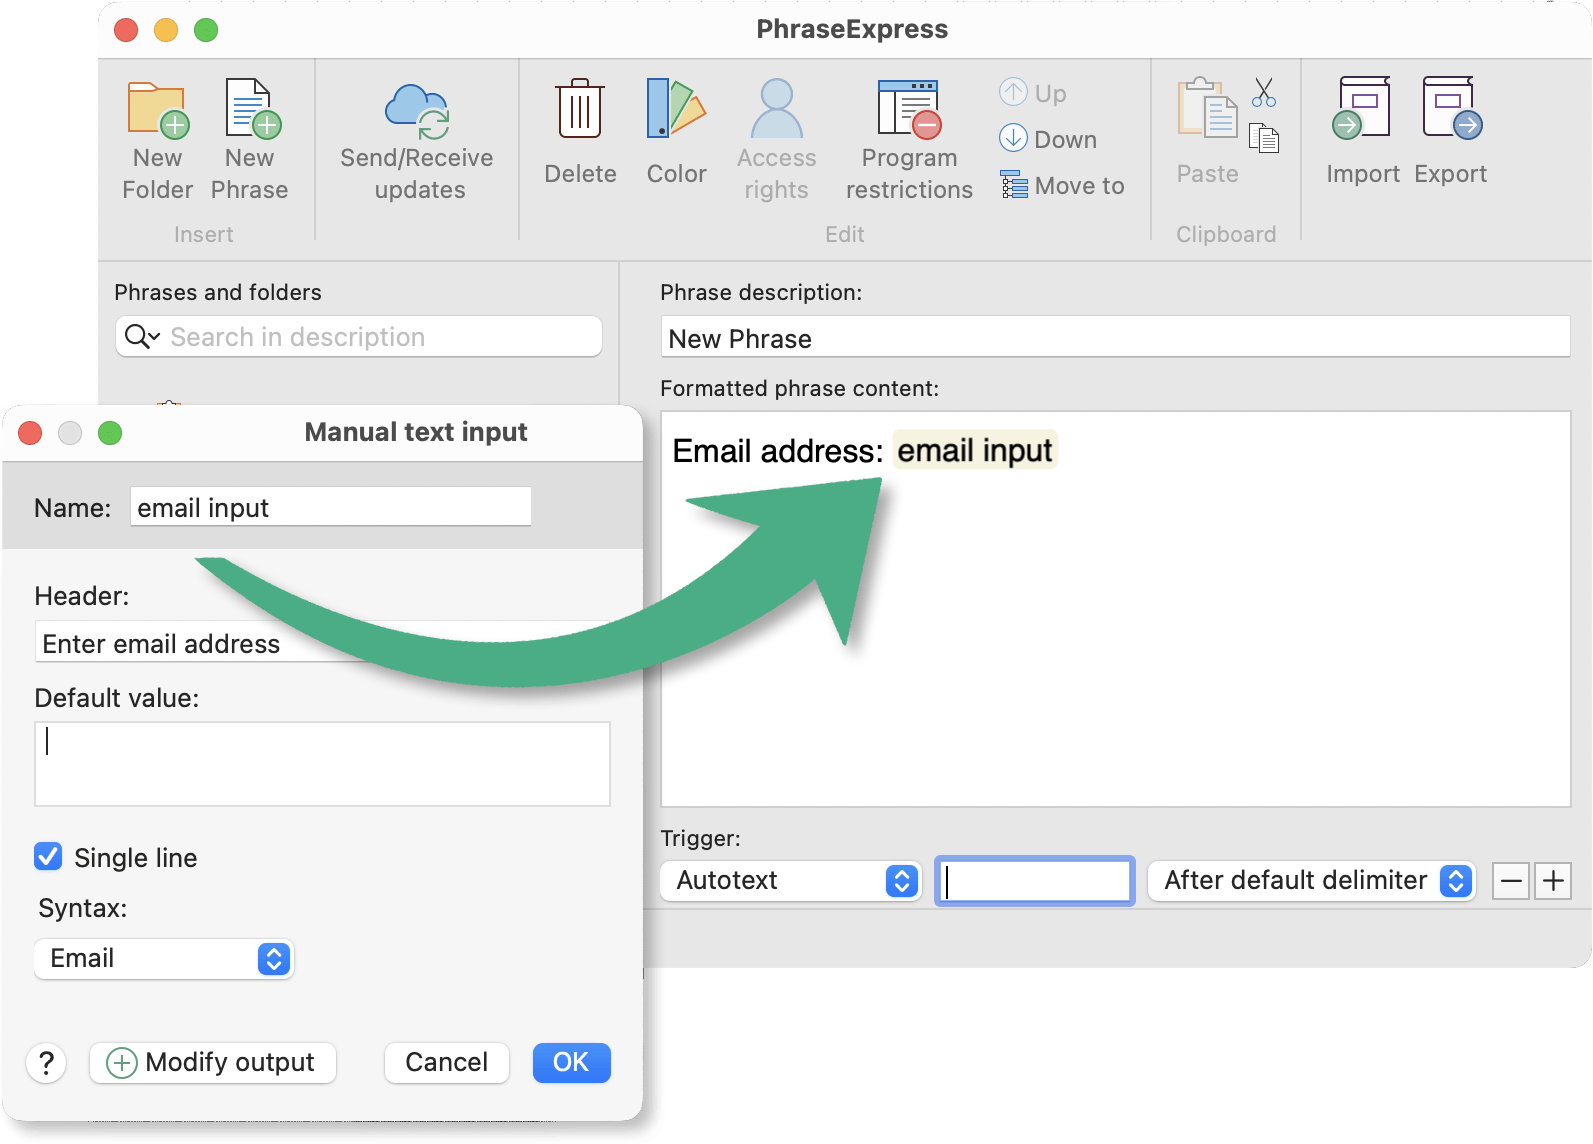
Macro parameters
Most macro functions have parameters and options which are explained in this documentation.
The Clou: Macro parameters may contain macro functions themselves!
Example applications:
- Embed a phrase into another phrase based on a specific date or time, or the value of a Excel spreadsheet cell content, a user input, a calculation, etc.
- Calculate a math expression consisting of a temporary variable, CSV file value and/or a Windows environment variable content, etc.
- Pre-fill an user input prompt with the current date.
To achieve the latter example:
- Create a phrase and click where you wish to add the macro function.
- Select macro "".
- Click the icon in the input field "".
- Select macro function "Time/Date" and configure that macro in its own macro configuration dialog.
- By clicking OK , the date/time macro token is inserted in the input field "".
- By clicking OK in the "" macro dialog, the entire nested macro function is inserted into the phrase.
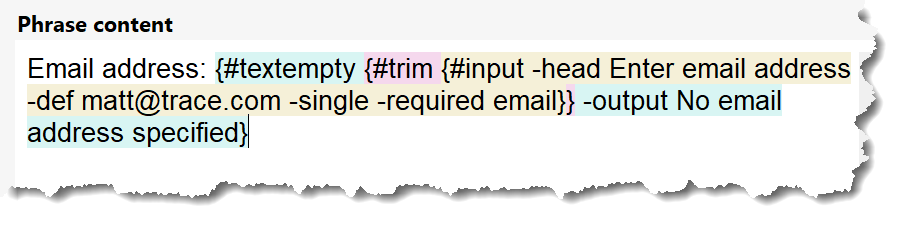
Additional processing
The output of a macro can be processed by a queue of additional macro functions:
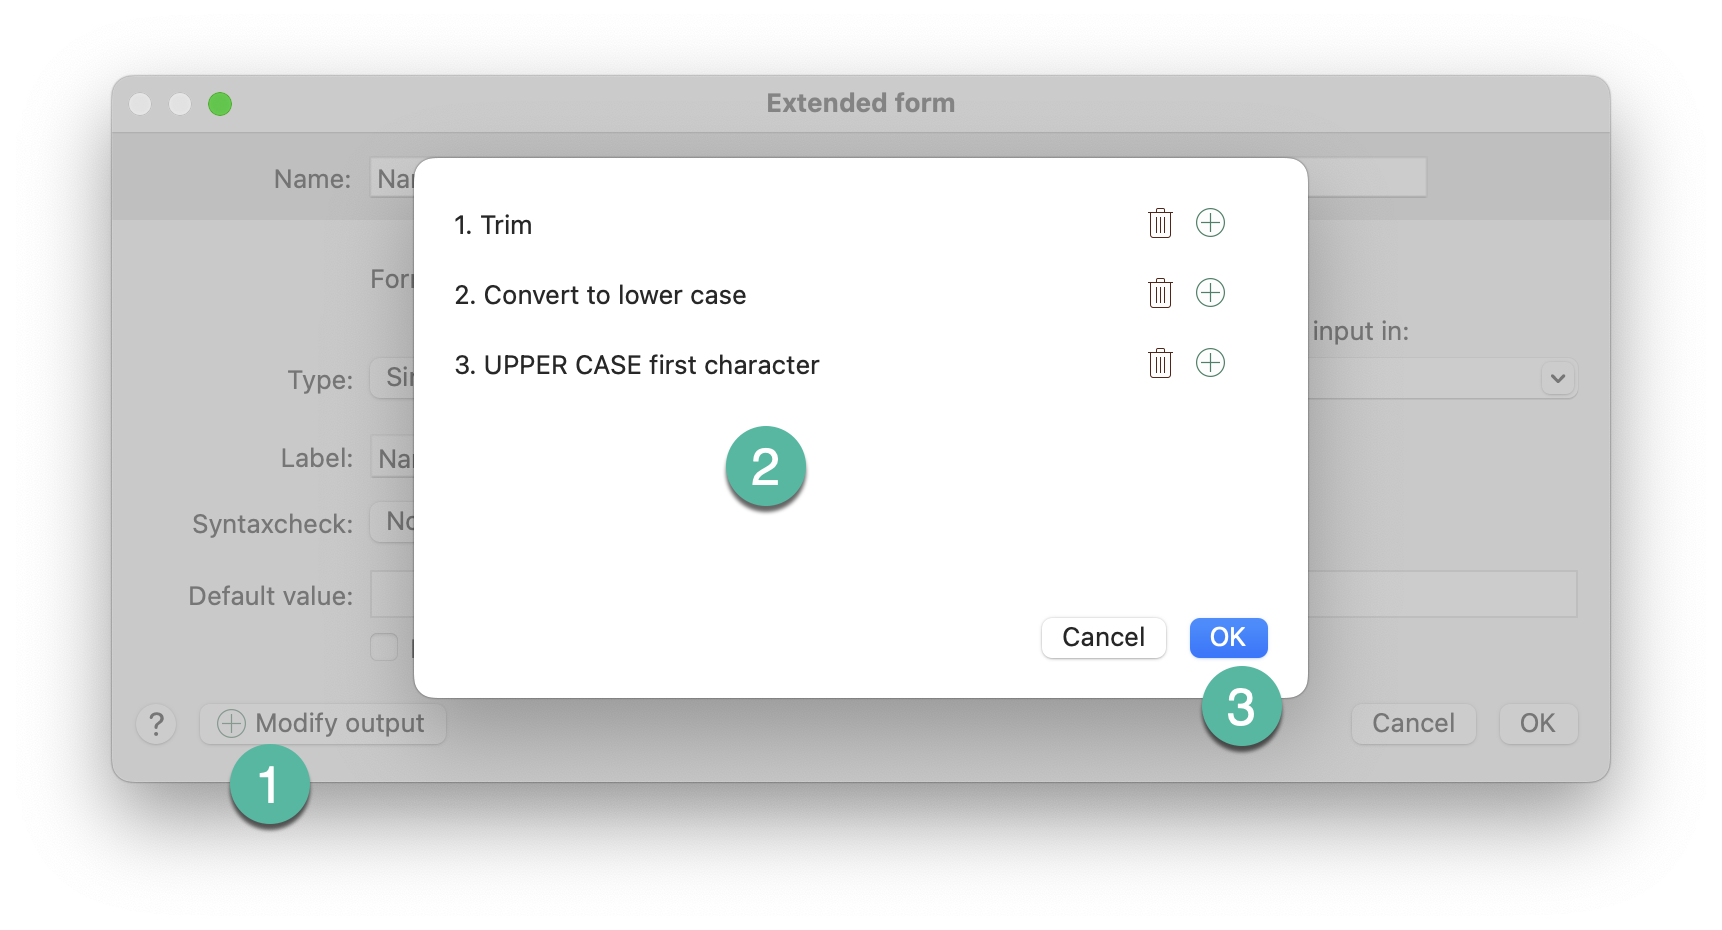
To add processing steps, click the button "" at the bottom of a macro input dialog and add processing steps as required. All processing steps will be daisy chained and executed from top to bottom.
Text-to-Macro Conversion
You can compose phrases in your flow without being concerned how to handle dynamic or variable parts within the text. If manual input or variations are needed in the text, just type placeholders such as "The patient is X years old and the symptoms are fever/pain/dizzyness".
To turn these placeholders into macro functions:
- Right-click the variations (multiple text variations, separated with common delimiter such as a slash or a comma)
- Select "" and select the desired macro type.
- Configure the macro in the macro dialog.
Done!